

When it comes to antique furniture, you have a lot of options for repairing it. You can do the work yourself or hire a professional. In either case, you’ll need to have some supplies on hand and be prepared for several rounds of trial and error. It’s not unusual for antique furniture repairs to take several weeks. Antique furniture is valuable and beautiful, but it can also be delicate. If you want to keep your antique furniture looking its best, you’ll need to know how to repair it properly. Here are seven of the best ways to restore old wood:
Hire a Furniture Restoration Service
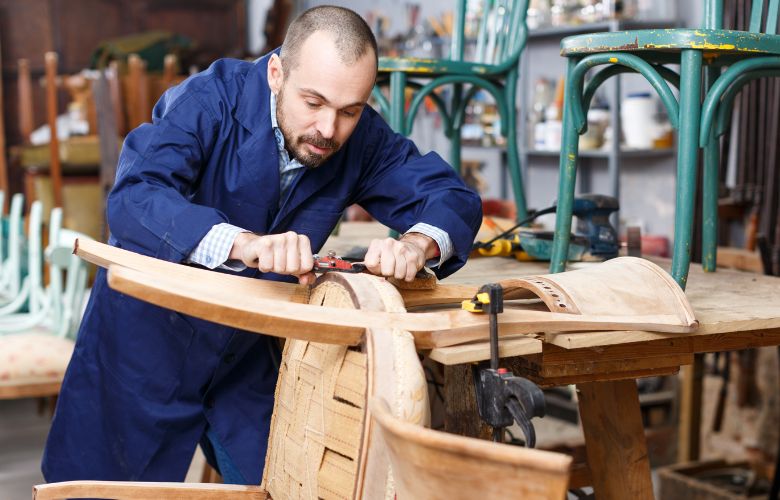
First off, if you’re looking for a way to repair antique furniture on your own, make sure to do your research before making any big investments. It’s worth investing in the right tools, but if you don’t know what you’re doing it could end up costing more in the long run. If you feel your antique furniture may be beyond repair and would like to sell it for its value, you could hire a professional furniture restorer.
Professional furniture restorers like this antique furniture restoration in Sydney have the tools and expertise to repair small cracks, scratches, nicks, and split pieces of wood. They can also refinish or repaint your piece so that it looks like new again. This is an ideal option if you have an older piece that is in good condition but has some imperfections that need to be fixed before selling the piece at auction or online.
Remove the Old Finish
Try to repair it by yourself. While this may seem like a good idea at first glance, it should be noted that antique furniture can be very fragile and requires special care when being worked on. If you choose this option you must have some experience working with wood so that you do not damage the piece further while trying to fix it up.
To remove the old finish, you have a few options. Chemical strippers are a good solution if you have time and patience, but they’re not always effective on all types of finishes. A heat gun will soften varnish while allowing you to keep your hands away from the heat source. A paint remover may be good for oil-based paints and lacquers, but it can damage certain types of furniture (such as mahogany).
Some people prefer using sandblasters or belt sanders for antique furniture restoration projects because these tools get into corners where other methods might leave behind some residue or dust that needs cleaning up afterwards. If you choose this method, make sure there’s proper ventilation in your workspace so no dust will settle on surrounding items like bookshelves or end tables. If even that doesn’t appeal to your inner DIY spirit, consider using hand planes or chisels instead, they’ll take off more material than any machine would while preserving more details about your piece’s design too.
Clean the Wood Surface
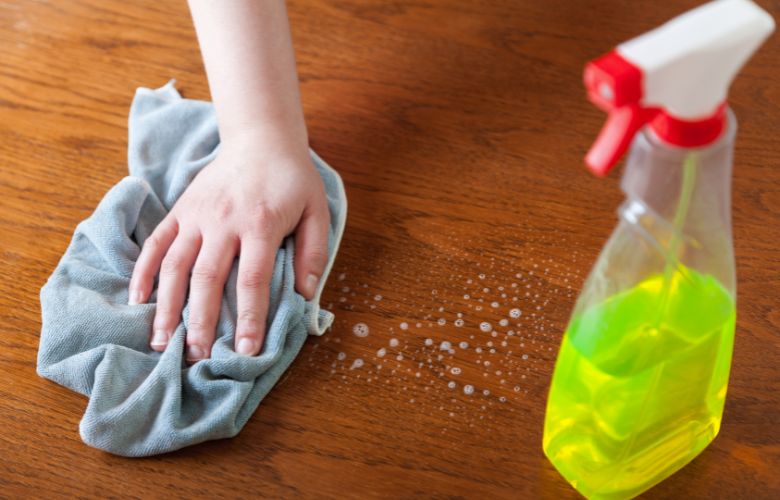
First, you should inspect the surface of the wood. If you notice any loose or missing pieces, you can use wood glaue to stick them back on. You can also use sandpaper to smooth out any splinters or other rough areas. Clean the wood surface. Use a dusting brush to remove any dust from the surface of your antique furniture, then use a damp cloth to clean it thoroughly. If you’re concerned about removing some of the original colours in your antique furniture, test out different cleaners on an inconspicuous spot before applying them all over your piece. Another way is using stain remover or paint stripper. These chemicals are very effective in removing old varnish or paint from the surface of your antique furniture without damaging it further. However, they may leave some stains on your hands or clothing so, note that some chemical cleaners recommend wearing gloves when using them, be sure to follow their instructions.
Take A Look On Benefits of Using Eco-Friendly Cleaning Products in Your Home Click Here
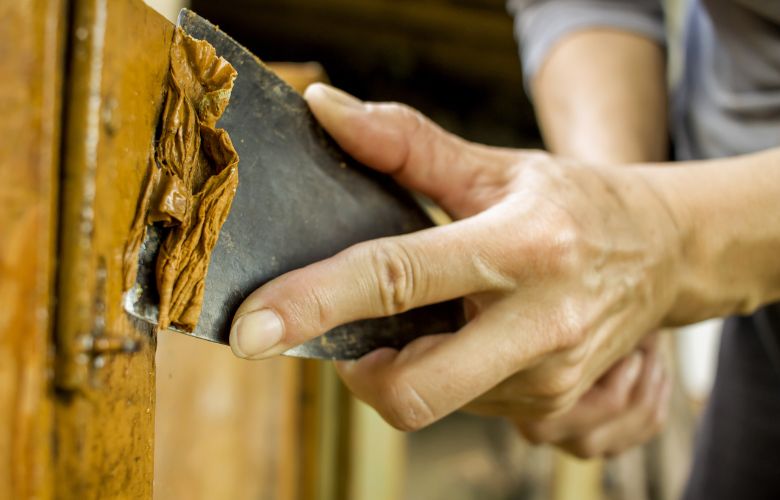
Minor Damage Can Be Filled by Wood Putty
First, start by making sure you have all the necessary equipment. You’ll need a soft cloth, some sort of cleaning solution (lemon juice works well), and a soft brush. You might also want to have some antibacterial wipes handy in case something gets on your hands while working on cleaning the furniture.
If there are gouges in the wood or cracks in its surface, these will need to be filled with epoxy glue before they can be sanded smoothly again. Epoxy will fill in any gaps and create a strong bond between two pieces of wood so that they stay together even after being repaired. Once the glue dries completely (usually overnight), you can then sand down any rough edges until everything looks nice and smooth again.
If you’ve got a gouge or dent in your antique, it’s not worth replacing the entire piece. Instead, use some wood putty to fill in the damaged area and make it look as good as new.
To apply putty:
- Use a putty knife to scoop out some of the putties from its container. You’ll want enough to form an almost-flat surface that matches the contour of your furniture piece. Be careful not to overfill the hole or else you might have trouble sanding down later on.
- Apply your new filler using small strokes back and forth, this will help prevent air bubbles from forming within it (which would cause unsightly lumps). If possible, try not to touch any part of this material with your hands; this could lead to fingerprints being left behind when you’re done smoothing down all sides with even pressure from an old trowel or plastic scraper (or whatever tool works best for this purpose).
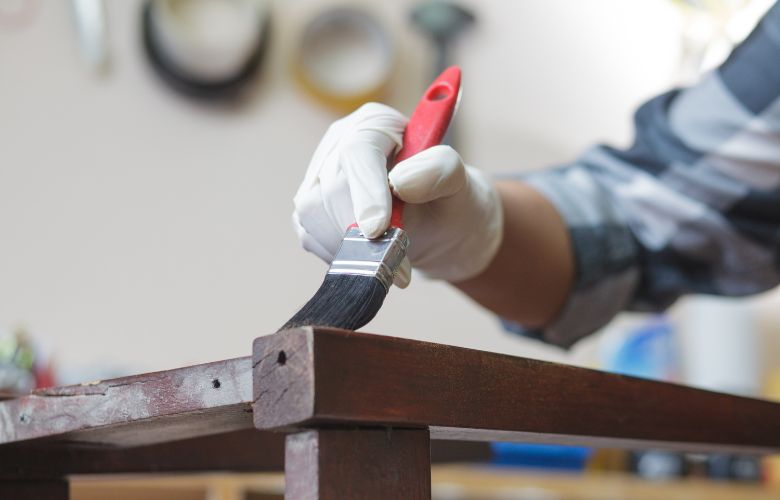
Add a New Layer of Finish

If you’ve got a piece of furniture with a worn finish, try adding a new layer. This can be done with either stain or paint, depending on what kind of look you’re going for. To get an authentic-looking finish, use a stain that matches the old colour as closely as possible. For example, if your piece has mahogany wood and brass hardware, it may be best to go with a mahogany stain rather than dark brown.
Use a brush instead of a roller to apply the stain/paint; rollers often leave streaks in their wake (even if they’re brand new) which won’t look good when applied over another layer of paint or stain. Be sure to let each coat dry completely before applying another one, you can speed up this process by using fans and hair dryers if necessary! Once all coats are complete, dust off any excess powder from your piece and then use furniture polish to restore shine to your newly refurbished item.
Use Leather Care
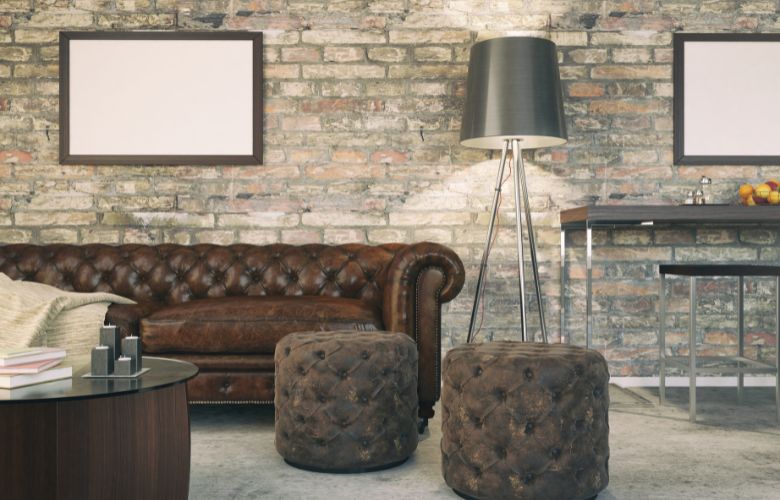
If you own antique furniture, you may be concerned about how to keep it looking its best.
One of the easiest ways to do this is to use a leather care product. Leather care products are designed to help preserve and protect your furniture’s leather. They can also be used on new furniture that is made from animal hides, such as suede or lambskin.
When choosing a leather care product, make sure it has a pH level that is close to neutral between 7 and 8 so that it doesn’t damage the leather on your antique piece. Also, look for products that contain beeswax or carnauba wax; these work well at restoring the softness and shine of dried-out leather. Some people prefer oil-based products because they’re easier to apply than creams or lotions; however, if your antique piece has any wooden parts (like legs), then you should use a water-based cream instead because oil can damage the wood over time.
Remove the Smell

If you want to repair antique furniture, you need to know how to remove the smell. This can be tricky because many common household products will cause damage to the wood or fabric. It’s important to use only products that are designed for antique restoration and don’t contain strong chemicals or abrasives.
Here are some of the best ways to remove smells from antique furniture:
1) Wash it with a soft cloth and warm water. This is a good option for mildew or dust-related odours, but it won’t work on more serious cases of mould or mildew.
2) Use baking soda and water to rub down the surface with a soft cloth; then rinse with warm water again afterwards. This method works well for mildew and dust-related odours as well as smoke damage (but it may not work on other types of smoke damage), so it’s worth trying if you have an old piece of furniture that smells like cigarettes or cigars.
3) For bad smells that have penetrated deep into the fibres of your piece like food spills or pet accidents, try mixing vinegar and water in equal parts and allowing your item to sit in this solution overnight before washing.
Conclusion
As you can see, there are many ways to repair antique furniture. All of the methods mentioned above require some skill and know-how but don’t be afraid if you don’t have much experience in woodworking or carpentry. Just follow step-by-step instructions on how to repair antique furniture using one of these techniques and soon enough you’ll be able to fix any damage on your own.
Recommended
 Here Are The DIY Tips for Restoring Antique Furniture
Take A Look Best Furniture Stores Melbourne
